

Cart
0
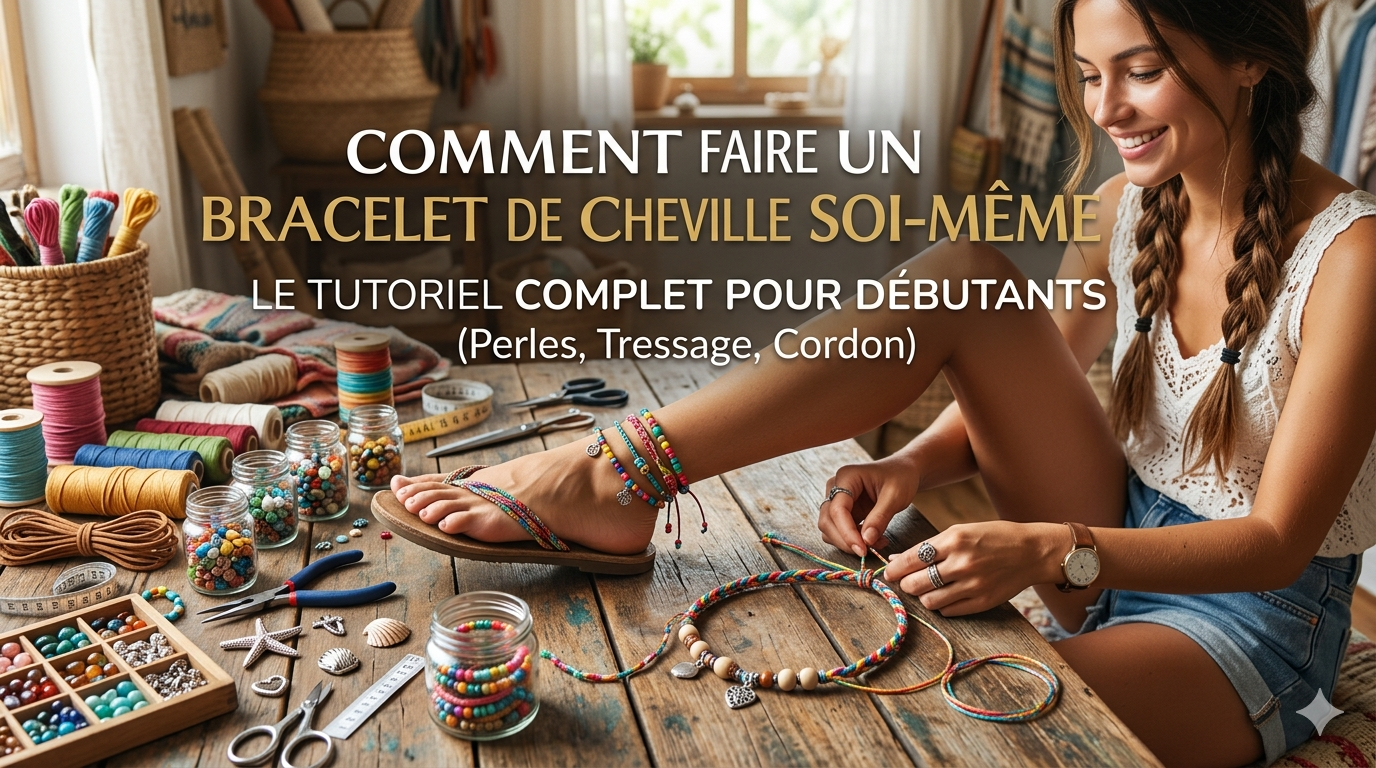
There's something deeply satisfying about wearing a piece of jewelry you've made with your own hands. An ankle bracelet is particularly well-suited for this: minimal materials, simple techniques to learn, and a result that can be adapted to your skin tone, summer wardrobe, and daily mood. Whether you're looking for a soothing craft activity for a rainy Sunday, a workshop idea to share with a friend, or simply the desire for a truly unique design, learning to make an ankle bracelet yourself is more accessible than you might imagine.
This guide will walk you through each step, from choosing your supplies to the finishing touches, covering the three main techniques any beginner can master in an afternoon: beaded strings, braiding, and knotted cords. You'll also find tips for measuring your ankle correctly, avoiding common mistakes, and creating a piece of jewelry that lasts, even with your feet in the water.
🧵 Why make your own ankle bracelet
The first reason is obvious: total personalization. When you make your own jewelry, you choose every detail. The color of the thread, the size of the beads, whether or not to include a small seashell, the exact length that fits your ankle. You are no longer dependent on what's available in stores; you create the piece that precisely matches the image you have in mind. For those who love the bohemian spirit, it's an open door to an infinite number of variations, and our ideas and inspirations for a bohemian ankle bracelet already give a good idea of the possibilities.
The second reason is the pleasure of the craft. Stringing beads, tying a knot, watching a pattern take shape between your fingers: these are activities that slow down the pace and soothe the mind. Many people discover beadwork as a true escape, somewhere between creative hobby and meditation. An ankle bracelet, being shorter than a necklace and less technical than a ring, is an ideal project for beginners to start without getting discouraged.
Finally, there's the sentimental dimension. A handmade bracelet tells a story. Given to a friend, exchanged between sisters, or worn as a souvenir of a specific summer, it becomes an object laden with meaning, far beyond its material value. This is the same logic that drives the success of the personalized ankle bracelet with initial or symbol: the jewelry ceases to be a simple accessory and becomes a small piece of yourself.
Good to know
Before you start, keep in mind that handmade work doesn't need to be perfect. A slight irregularity in bead spacing or a slightly more pronounced knot is part of the charm of a handcrafted piece. This is precisely what distinguishes your creation from a mass-produced item.
🪡 Materials to gather before you start
Good news: you don't need a full workshop to get started. A few basic supplies are enough, and most can be found in haberdashery stores, craft shops, or even a simple sewing kit. The central element remains the support, meaning what will hold your jewelry. For beads, transparent elastic thread is favored, very practical as it avoids the need for a clasp, or stronger braided nylon thread for chain models. For braiding, waxed cotton thread or embroidery floss, sold in skeins of all colors, is used. For more structured versions, a thin cotton or vegan leather cord works wonders.
Next come the decorative elements. Tiny, shiny seed beads give a delicate, luminous finish; wood or stone beads bring a more natural and bohemian touch. One or two small drilled seashells, a miniature starfish, or a golden charm are enough to define your style. If you appreciate the virtues attributed to minerals, you can draw inspiration from our article on natural stone ankle bracelets to choose beads with meaning.
As for hardware, plan for small lobster clasps, jump rings, and for adjustable models, a few crimp beads. A pair of fine scissors, flat-nose pliers, and possibly wire cutters complete the kit. The choice of material is never insignificant: it determines the look, but also its longevity. To understand the differences between silver, steel, beads, shells, and cords, the complete guide to ankle bracelet materials will save you many disappointments, especially if you have sensitive skin.
One last piece of advice before tying the first knot: consider your skin. Some people react poorly to prolonged contact with nickel-containing metals. If this is your case, opt for textile supports or hypoallergenic findings. Our dedicated article, what materials to avoid if you have sensitive skin, details the right habits to adopt when purchasing supplies.
📏 How to measure and calculate the correct length
This is the step beginners most often neglect, and it's also what separates a comfortable piece of jewelry from a bracelet that slips or pinches. Before cutting any thread, measure your ankle circumference where you will wear the jewelry, usually just above the bone. A dressmaker's tape measure works perfectly; failing that, wrap a string around and then measure its length against a ruler. The complete method, with comfort margins to allow depending on whether you prefer a snug or loose fit, is explained step-by-step in our guide on how to measure your ankle to never get the size wrong.
The golden rule is to add a margin to the raw measurement. Allow about two extra centimeters more than your ankle circumference for comfortable wear, and up to three if you like the slightly floating movement typical of summer styles. If you're attaching a clasp, also account for the length it will take up. And never forget that elastic thread stretches a bit with wear: it's better to cut it slightly shorter than a rigid thread. For an adjustable sliding knot bracelet, however, leave plenty of thread at the ends, as these will allow for adjustment.
🌿 Three step-by-step techniques for beginners
Time to get practical. The following three methods cover the essentials of what a beginner can achieve at home. Each creates a different style, and nothing stops you from combining them once you've got the hang of it.
Beaded strings on elastic thread
This is the most accessible technique, ideal for a first creation. Cut a length of elastic thread corresponding to your measurement plus about ten centimeters for safety. Thread your beads one by one, creating the pattern as you go: alternating colors, gradient, regular or random rhythm, it's up to you. When the length is right, firmly tie the two ends with a double flat knot, add a drop of jewelry glue to the knot to secure it, then slide the knot inside a neighboring bead to hide it. Trim the excess, and there's your first bracelet. If you're unsure about the choice of beads and their combination with a chain or a shell, the article beads, shell or chain, how to choose will help you decide.
Once you've mastered the basic technique, have fun incorporating a small central charm or playing with bead sizes to create texture. The result will be all the more harmonious if you pay attention to spacing. To get an idea of everyday combinations that work, check out our tips for wearing a beaded ankle bracelet.

ANKLET — Gold beads
Gold Beaded Ankle Bracelet
€27.90
No time to string your own beads? This ready-made gold model offers the same summer glow, with a neat finish and a clasp that lasts all season.
Discover →Braiding and macrame
Braiding creates those bohemian bracelets that we immediately associate with bare feet on the sand. The basic principle is that of a classic three-strand braid, but you can quickly increase the complexity with flat macrame knots. Choose three complementary colored waxed cotton threads, tie them together with a knot at one end, secure this knot with adhesive tape on a table, then braid regularly until you reach the desired length. Finish with a knot, and leave some thread on each side so you can tie the bracelet directly around your ankle. This endlessly adaptable technique is at the heart of the aesthetic detailed in our bohemian guide to braided ankle bracelets.
Macrame takes this further with flat knots that form raised patterns. It's a bit more technical, but none of the steps are beyond the reach of a patient beginner. The trick is to always work with consistent tension: too loose, the pattern deforms; too tight, the bracelet becomes rigid. A few beads slipped in during braiding are enough to adorn the piece. If your threads tend to tangle while you work, our simple solutions for tangled bracelets apply equally well to making and wearing.

ANKLET — Woven shells
Woven Ankle Bracelet with Shells
€27.90
Want the macrame look without the hours of knotting? This hand-woven design, adorned with real seashells, captures all the summery spirit of a successful homemade creation.
Discover →Cord and sliding knot
This last technique appeals to those who want an adjustable piece of jewelry without a metal clasp. You start with a thin cord, optionally string a few central beads, then join the two ends with a sliding knot. The principle is simple: each end wraps around the opposite strand two or three times before being tied, so that the knots can be slid to tighten or loosen the bracelet. This is the ideal solution for gifting, as the recipient adjusts the size themselves. The cord also has the advantage of being soft and light, particularly comfortable in summer. To vary the pleasures, there's nothing to stop you from layering several creations, as we explain in the article on multi-strand ankle bracelets and their combinations. Further reading: Adjustable ankle bracelet: the secret to never getting the size wrong (and which ones to choose).
💧 Finishing, clasps, and care
A well-finished bracelet is recognized by three details: a clean or invisible knot, secured ends, and a material that withstands your lifestyle. If you've chosen a lobster clasp, attach it with crimp beads and a jump ring, making sure to flatten the bead well with flat-nose pliers. For knotted styles, a drop of transparent jewelry glue ensures nothing will come undone at the first movement. Also consider very lightly burning the end of a nylon thread, using a distant lighter, to prevent fraying, a gesture to be reserved for adults and practiced with caution.
Durability then depends on usage. A beaded bracelet on elastic thread doesn't like repeated showers or sea salt, while a cord is more water-resistant but can tarnish in the sun. The general rule is to remove your textile creations before swimming and let them dry flat. For jewelry with metal components, a soft cloth is enough to restore its shine. All the right techniques are gathered in our guide on how to care for an ankle bracelet and keep it like new. And if you want to delve deeper into understanding this piece of jewelry, from its history to its styles, the complete guide page on ankle bracelets and ankle chains is a reference to keep handy.
Mistake to avoid
Never tighten a handmade bracelet to the point where it marks the skin. The ankle swells slightly in heat and at the end of the day. A too-snug piece of jewelry quickly becomes uncomfortable, even irritating. It's better to allow a little slack and enjoy the slight sway that makes this jewelry so charming.
🛍️ Make it yourself or choose a ready-to-wear model
Making your own ankle bracelet is a rewarding adventure, but it requires time, some materials, and a dose of patience. Not everyone has the desire or availability to dedicate themselves to it, and that's perfectly legitimate. Certain pieces, especially those that combine fine beads, natural shells, and water-resistant finishes, require a skill set acquired through experience. For these cases, or simply to complement a homemade creation, it's entirely sensible to opt for pre-made designs. You can also browse our entire collection of ankle bracelets to spot combinations that will inspire your own attempts.
Many amateur designers operate this way: they make the simple designs they've mastered and purchase the more elaborate pieces. If braiding appeals to you, the woven ankle bracelets collection offers an excellent repertoire of patterns to reproduce. For bead enthusiasts, the beaded ankle bracelets collection is full of assembly and color ideas. And for a beachy vibe, nothing beats a visit to the shell ankle bracelets collection, a goldmine for anyone wanting to incorporate a marine touch into their creations.

ANKLET JEWELRY — Multi-layered beach
Bohemian Multi-layered Beach Ankle Bracelet
€29.90
The multi-layered inspiration in its most complete version: shell, starfish, and beads combined for a holiday spirit that lasts all summer long.
Discover →Whether it ends up on your ankle or a friend's, your first creation will remain a memory. Start simple, with a row of beads on an elastic thread, take the time to measure correctly, and let yourself be carried away by the desire to experiment. Very quickly, you'll have your favorite colors, preferred knots, and maybe even a small collection to rotate daily. A handmade ankle bracelet has only one rule: it should reflect you. To fuel your inspiration throughout the seasons, keep the reference page on ankle bracelets and chains within a click's reach, and have fun.
To go further

